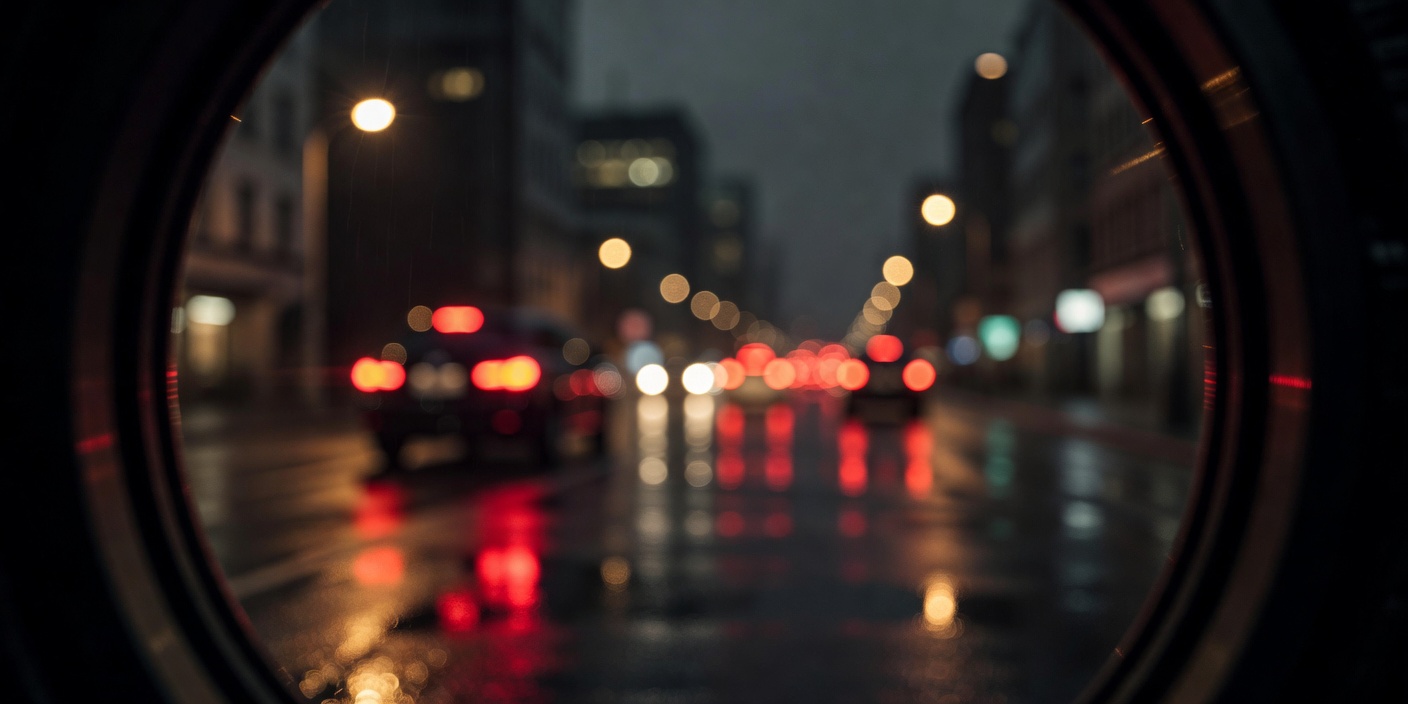
Tonight's scene: find a footbridge, a raised pavement or a car-park roof that looks down on a road with steady traffic. A gentle bend is ideal. Set the tripod on solid ground, away from railings that vibrate when lorries pass, and wait for the sky to settle into deep twilight. Within fifteen minutes you can have a frame where headlights become pale ribbons and tail lights become red ones.
Shutter time decides the length of the line
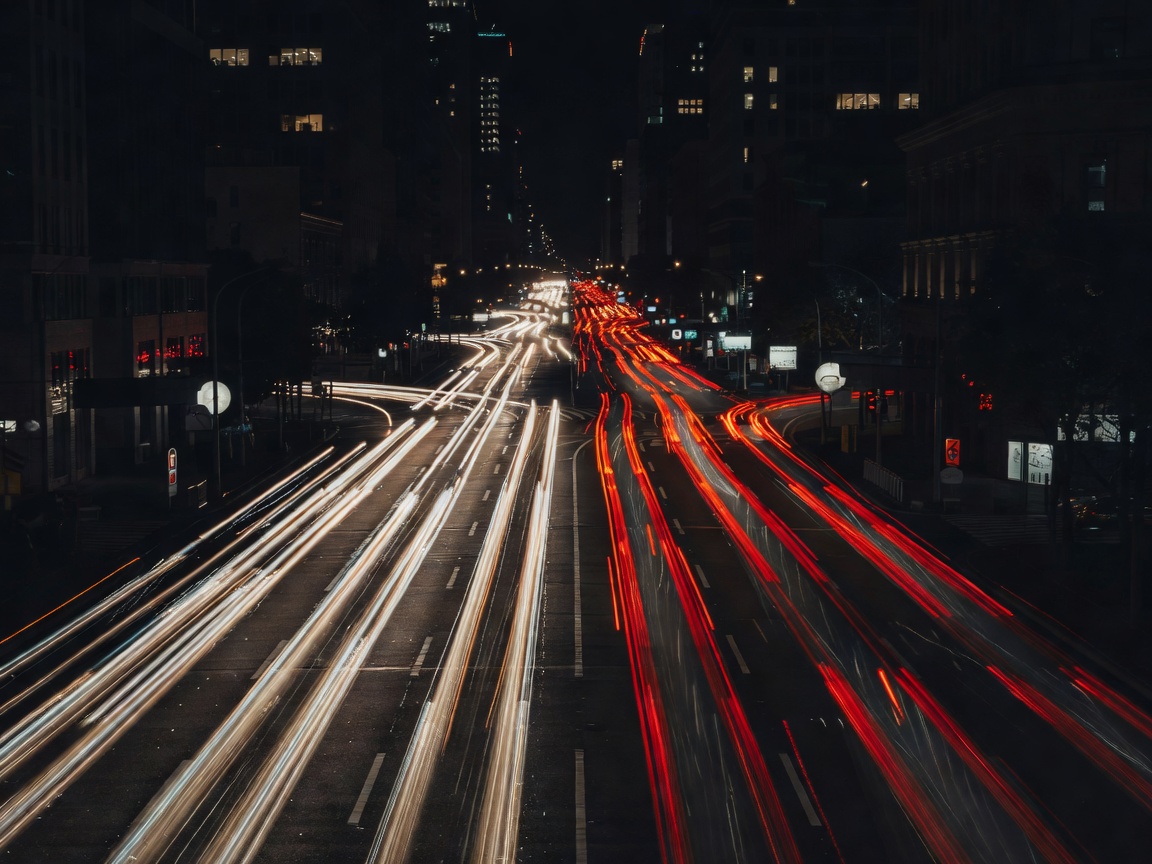
A light trail is a record of where a bright point travelled while the shutter was open. A car at 50 km/h covers roughly 14 metres every second, so a one-second exposure gives a short dash, while 20 seconds can carry a single vehicle across the whole frame. Start at 15 seconds. If the lines stop short of the edges, lengthen the exposure; if the image gets too bright before the lines are long enough, close the aperture or add a neutral density filter rather than shortening the shutter.
Traffic lights matter as much as speed. A junction that empties every 40 seconds can leave half your frame blank. Watch two or three light cycles before you press the shutter, and start the exposure as a queue begins to move.
Aperture and ISO set the brightness of everything else
Once the shutter time is chosen for the trail, aperture and ISO decide how the static city looks. f/8 to f/11 gives deep sharpness on most lenses and turns streetlights into small starbursts, an effect of light diffracting around the aperture blades. Going past f/16 softens fine detail across the whole frame, so treat it as a trade rather than a free gain. Keep ISO at your camera's base setting, usually 100 or 200: long exposures already collect plenty of light, and a low ISO keeps shadows cleaner.
A useful sequence is ISO 100, f/9, 15 seconds; take a test frame; check the histogram rather than the screen, which looks flattering in the dark. Then adjust one setting at a time so you know which change caused which result.
Stability is the setting you cannot fix later
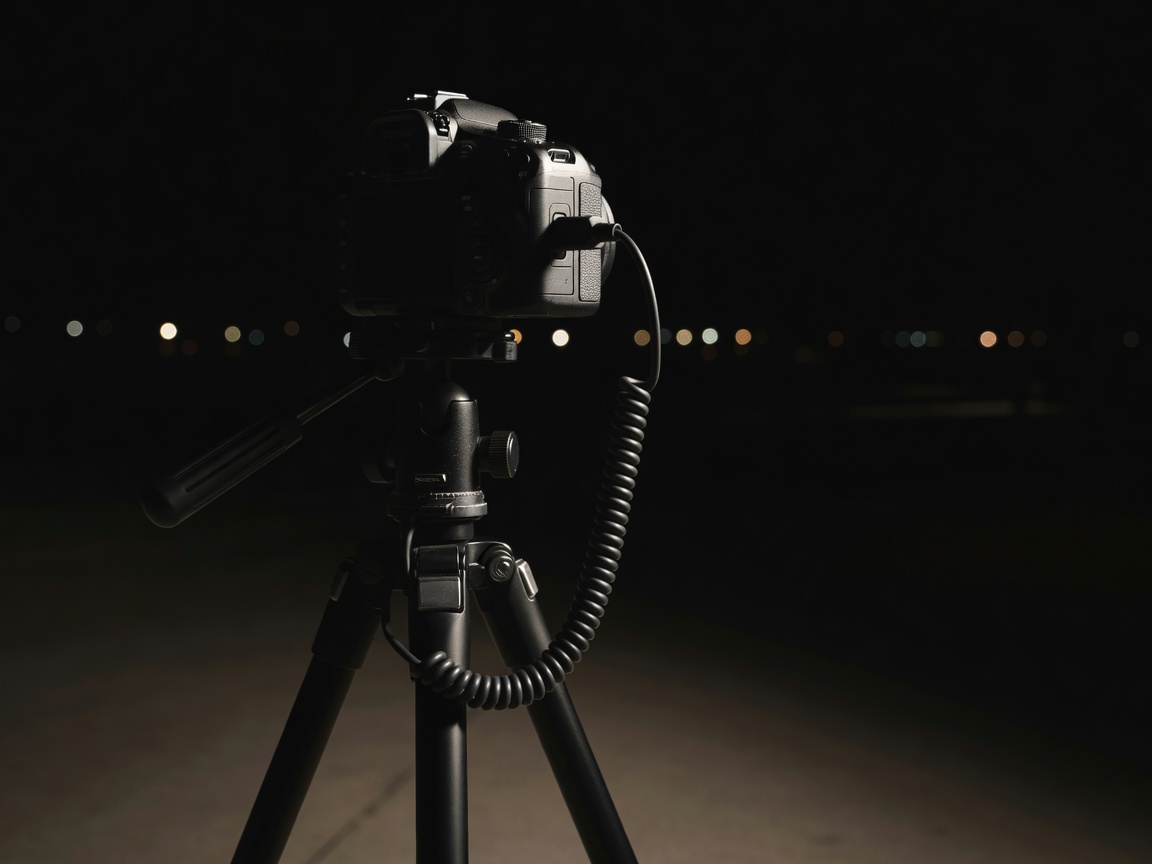
Any movement during a 20-second exposure blurs the buildings while the trails stay bright, which reads as a mistake. Extend the thickest leg sections first, keep the centre column down, and hang your bag from the hook if the wind picks up. Use a two-second self-timer or a remote release so your finger does not shake the camera. Many lens manuals recommend switching stabilisation off on a tripod because the system can drift while hunting for movement; newer bodies detect tripods automatically, so check yours.
Timing, colour and composition
The most balanced trail photographs usually happen 20 to 40 minutes after sunset, when the sky still holds colour and roughly matches the brightness of the street lighting. Later, the sky turns black and contrast becomes harder to manage. Look for shapes that give the trails purpose: the long curve of a ring road, the swirl around a roundabout such as Place Charles de Gaulle at the Arc de Triomphe in Paris, or a London double-decker bus leaving a second, higher line along the street. The elevated walkways of Hong Kong and the Shibuya crossing in Tokyo are popular for good reason, but a quiet bypass near home teaches the same lessons.
When one exposure is not enough
If traffic is light, take a series of identical frames over ten minutes and blend them later with a lighten blend mode. Each frame contributes its trails, and the result resembles one busy exposure. It also limits sensor heat and gives you options if a pedestrian walks through one frame. Be open about stacking where it matters, for example in competitions with rules on composites.
Safety on the roadside
Stay on footpaths and bridges intended for pedestrians, wear something reflective, and never set a tripod on a carriageway or central reservation. Drivers who notice a figure with equipment beside the road may brake unexpectedly, so give them distance and keep your kit compact.
Technique notes
My trails look broken or dotted
Either the exposure ended before cars cleared the frame, or traffic stopped mid-exposure. Lengthen the shutter, start when lights turn green, or stack several frames. Some LED lamps also flicker, creating dashes; a longer shutter does not remove that, but it is an honest record of the light.
Starbursts look messy or uneven
Starburst shape depends on the number of aperture blades and lens design. Clean the front element, try f/11, and accept that some lenses simply produce softer points.
The whole frame is too bright
Close the aperture by one stop, or wait ten minutes for the sky to darken. In bright city centres, a 3-stop ND filter lets you keep the long shutter without overexposing.